
IMPLEMENTATION NOTE
n8n and OpenAI change node names, model options, and API capabilities over time. Use the current options shown in your n8n instance and the provider documentation, then retest the workflow after upgrades.
STACK
n8n + OpenAI API
TIME
45–60 minutes
LEVEL
Intermediate
RESULT
Validated AI output inside a deterministic workflow
QUICK ANSWER
Connect OpenAI to n8n by storing the API credential securely, sending structured input, constraining the model output, validating that output, and only then applying deterministic routing or actions.
Key Takeaways
- Keep API credentials in n8n Credentials, never in prompts or Code nodes.
- Define an explicit output contract when downstream nodes depend on predictable fields.
- Validate AI output before sending it to customer-facing or consequential actions.
- Separate AI interpretation from deterministic business rules.
Before You Build
- Have an operational n8n instance and an OpenAI API account with appropriate access.
- Choose one narrow task first: classification, extraction, summarization, or routing.
- Define the exact input and output fields before configuring the AI node.
- Prepare representative success, failure, ambiguous, and empty-input test cases.
- Decide which outputs require human review.
Template Inputs
| Field | Example | Purpose |
|---|---|---|
input_text |
Customer inquiry | Text the model must analyze. |
task |
classify |
Defines the AI operation. |
output_schema |
category, urgency, summary | Defines fields expected downstream. |
human_review |
true |
Routes uncertain or consequential results for approval. |
Why Connect OpenAI to n8n?
Rule-based automation moves data between systems. An AI step can interpret text, extract fields, summarize content, or classify a request before deterministic n8n logic decides what happens next.
Step 1: Add the OpenAI Credential
- Open n8n and go to Credentials.
- Create the OpenAI credential supported by your installed n8n version.
- Enter your own API key through the credential interface.
- Save and test the credential.
Never paste the key into article content, Code nodes, screenshots, or public repositories.
Step 2: Configure the AI Node
- Add the OpenAI node or an HTTP Request node if your n8n version/workflow requires direct API control.
- Select your saved credential.
- Choose a currently available model appropriate for the task and verify its limits in your environment.
- Pass the user input from the previous node using an n8n expression.
- Keep system instructions focused on the task, boundaries, and output contract.
Step 3: Enforce a Structured Output Contract
For downstream automation, require JSON that matches a small schema and reject unexpected or missing fields.
{
  "sentiment": "positive | neutral | negative",
  "urgency_score": 1,
  "category": "billing | technical_support | sales | general",
  "summary": "Short evidence-based summary"
}
Do not trust the model response simply because it looks like JSON. Parse it and validate the required fields before using them.
Step 4: Apply Deterministic Routing
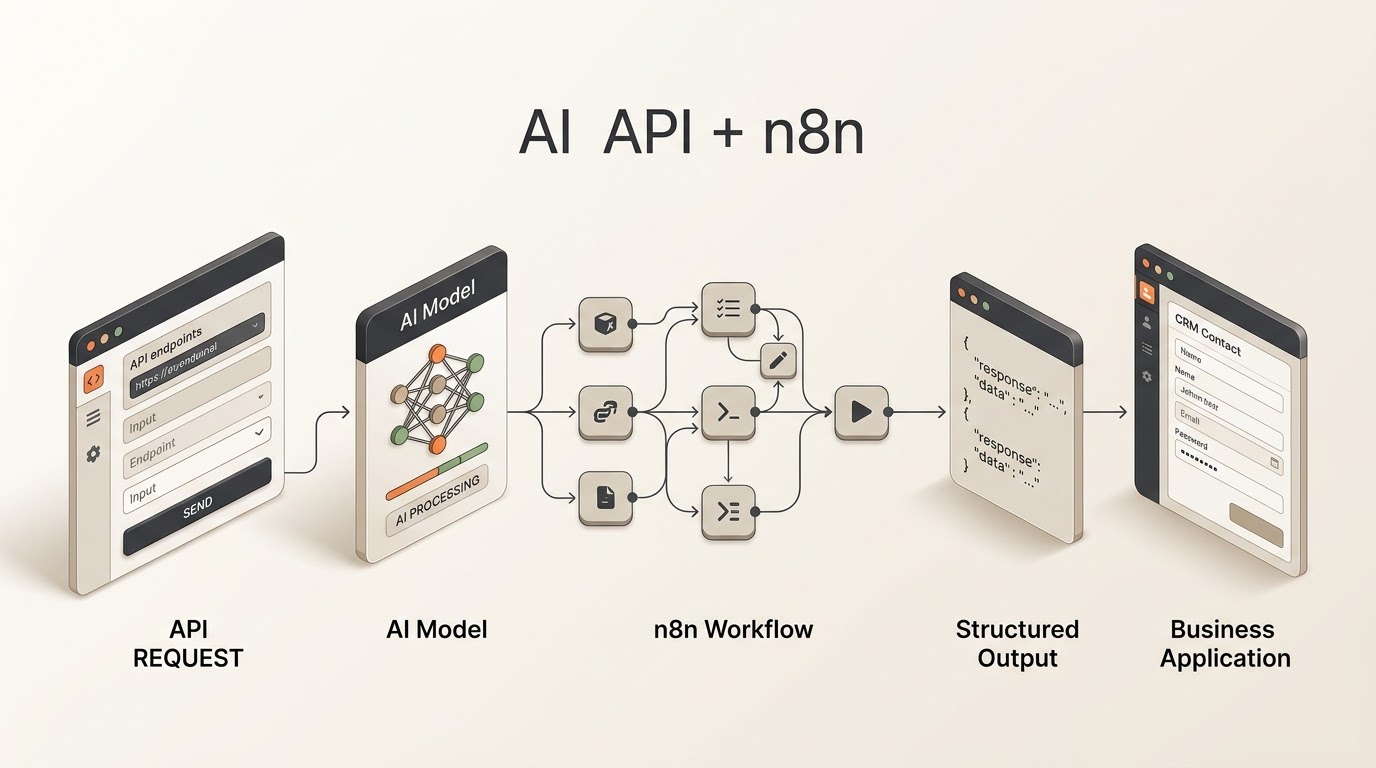
[ Email / Webhook ] → [ Normalize Input ] → [ OpenAI Analysis ] → [ Parse + Validate ] → [ Deterministic Switch ] → [ Action / Human Review ]The AI interprets the message. n8n makes the business decision using explicit rules. This separation makes the workflow easier to test and audit.
Practical Use Case: Support Routing
- Receive a support email or form submission.
- Normalize the message and remove unnecessary data.
- Ask OpenAI for category, urgency, and a short summary.
- Parse and validate the response.
- Route high-urgency or uncertain cases to a human.
- Send low-risk categories to the appropriate queue.
- Log the classification and final outcome.
Test the Workflow
- Send a normal message and verify the expected fields.
- Send an empty message and verify that validation stops the workflow.
- Send an ambiguous message and verify human escalation.
- Send an urgent message and verify the urgent branch.
- Test conflicting or untrusted instructions in the input and verify they cannot override workflow policy.
- Test malformed model output and verify the validation/error branch.
Troubleshooting
- Authentication error: check the n8n credential and API access.
- Rate limit or quota error: inspect the provider response, add controlled retry/backoff, and monitor usage.
- Invalid JSON: tighten the output contract and validate before downstream use.
- Wrong routing: keep business thresholds in n8n rather than asking the model to execute them implicitly.
- Unexpected cost: monitor actual usage and avoid sending unnecessary context.
Security & Privacy
- Store API keys in n8n Credentials.
- Minimize personal or confidential data sent to the model.
- Use least-privilege access for connected services.
- Keep human review for financial, account-changing, legal, or other consequential actions.
- Log enough information to audit decisions without unnecessarily storing sensitive customer data.
Build the Next Version
Before extending the workflow, use the AI Automation Assessment to confirm the process and review points, then use the AI Workflow Builder to map the trigger, data flow, conditions, and actions. Estimate expected usage with the AI Automation Cost Estimator, and structure model instructions with the AI System Prompt Generator.
Related AI Workflow Guides
Build and Estimate Your Automation
Turn an automation idea into a workflow blueprint, then estimate its usage and cost before building.